Yes...... still more photos !
|
|
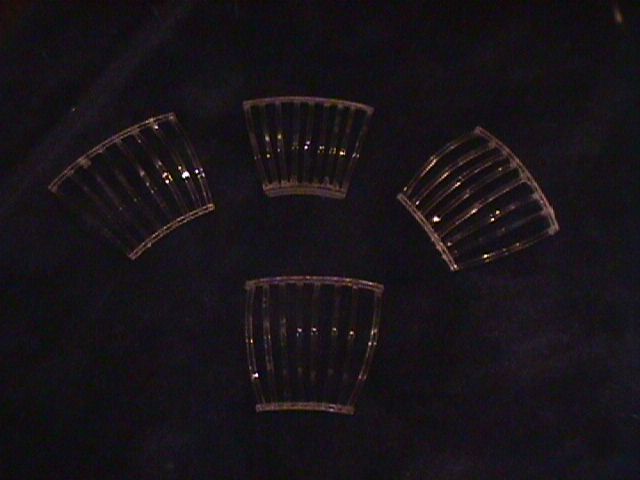
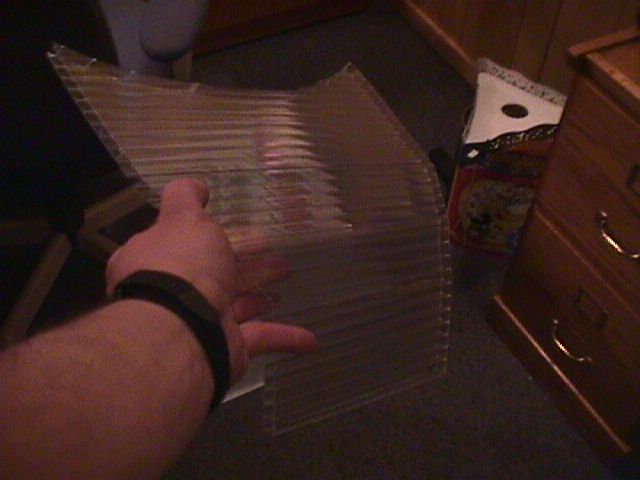
Sorry about the photo but these are the vent ribs
|
This is the front non-neon section
|
|
|
|
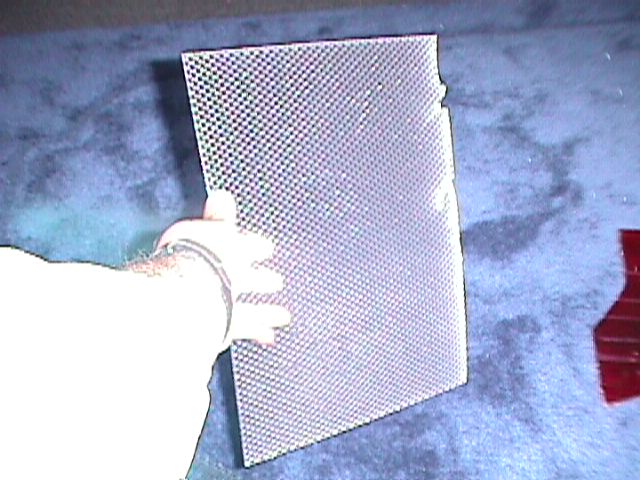
This is the backing for the neon section
I used the panel material for fluorescent lighting.
Cut it to size and heated it and bent it to shape then painted it red. |
I Like It !
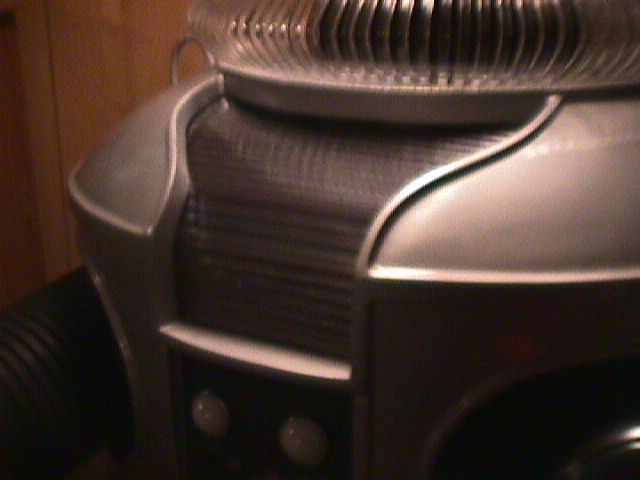
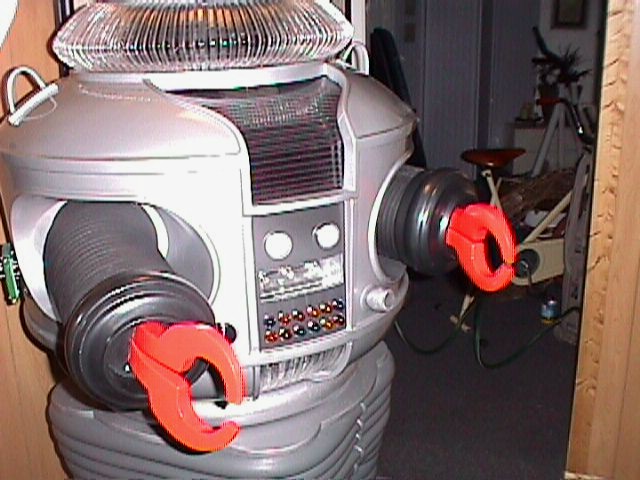
Here is the neon section in place,I think it looks
pretty darn good and it looks like neon. |
|
|
|
He Speaks !!!!!!!!!
|
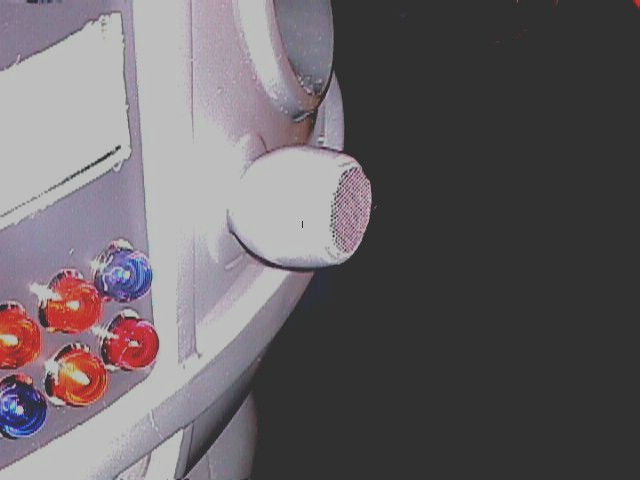
The Microphone
This is made from a wooden craft ball,copper pipe and plexi glass. |
|
|
|
The Chest........... Lights and all.
All that is missing in this photo is the 10 buttons and bezel, I'm working on those as I'm updating this. But he's all painted now! |
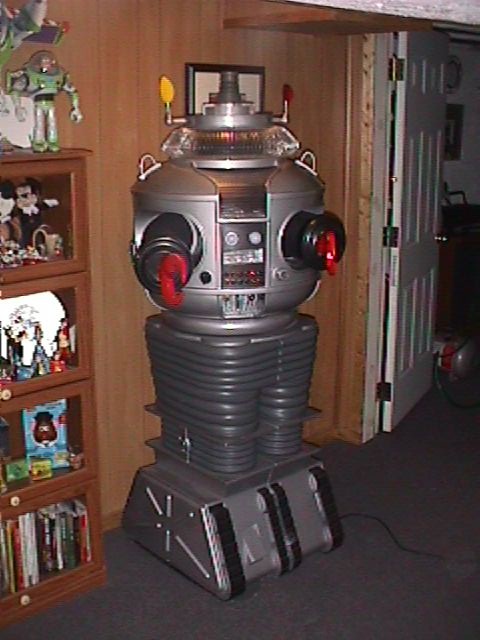
Almost finished!
Here is the robot all stacked together painted & wired.The next thing to do is finish the brain cup and brain. I also have to buy the bubble but I'll do that after the holidays. I hope to make a new tred section from metal and put some kind of robotics in for his arms and legs ,but for now I'm pretty happy the way he is. |
|
|
|
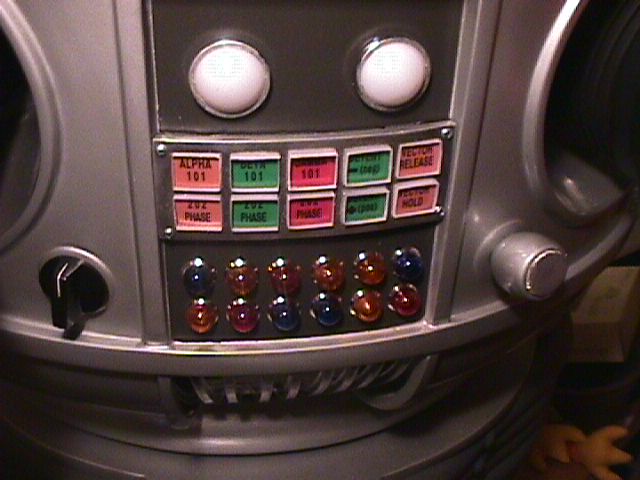
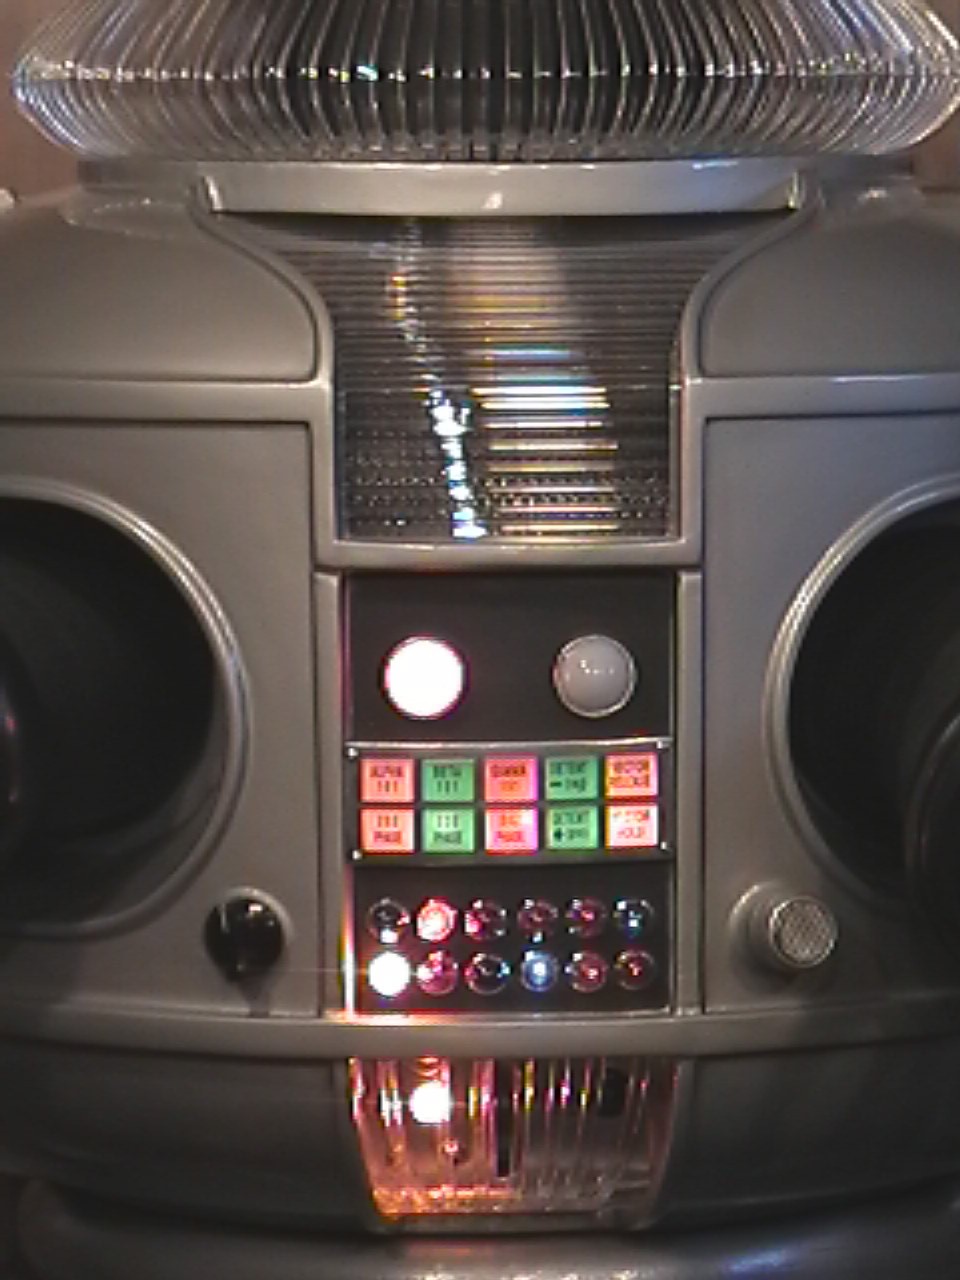
The bezel and belly lights!
This area had to look good, so it took some time to get it right but I'm happy with the look.Those square buttons where a real pain cutting but I got them, they are 1/4 plexi glass. |
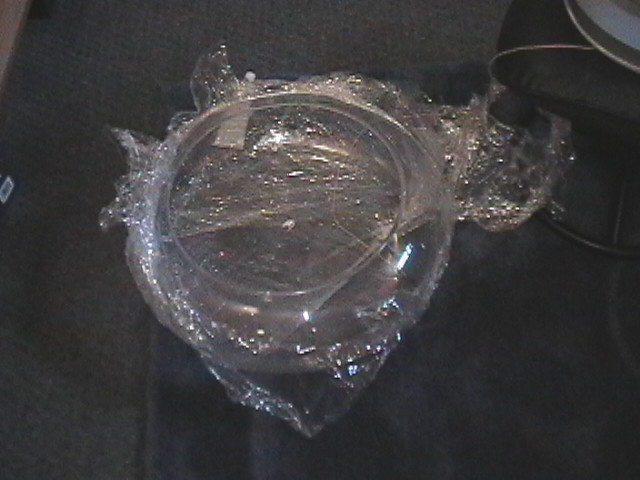
The Bubble
This was the hardest part to get because of all the copyrights and things like that. |
|
|
|
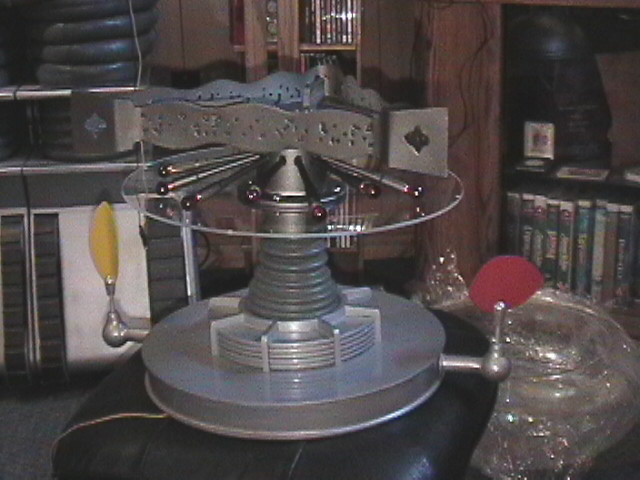
The Brain On the Plate?
Yep it's the brain ,brain cup and bubble plate with the light fingers. Now all that is needed is to place the lights and connect the power! |
If I only had a Brain!
My light string for the brain. It has both flashing bulbs and non flashing for behind the eyes. Red flashing bulbs will be placed on the top of the brain. (I know they should be amber but I like red better) |
|
|
|
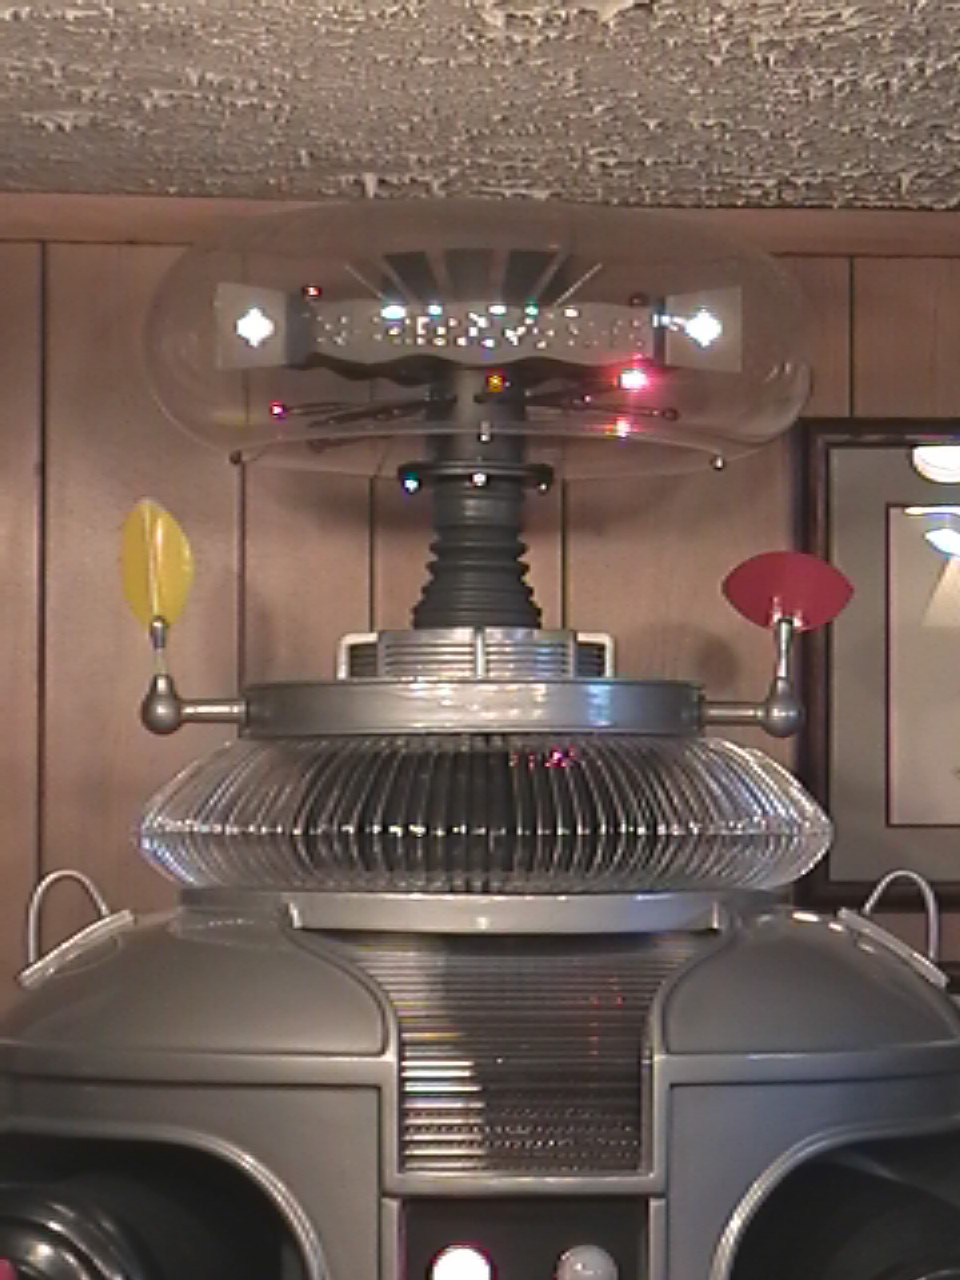
Hear is the Bubble!
This is the bubble with the brain and light rods in place. All the lights are in place and working well. |
The Finished Chest
This is the completed chest area I think the non-neon look came out looking just fine. |
|